My Course Creation Workflow: Tools & Process for Solo Creators
A step-by-step look at the tools and process used to produce high-quality online courses as a solo creator. Covers recording, editing, hosting, and marketing. A practical workflow guide for anyone building courses without a production team or big budget.

Why Workflow Matters for Solo Course Creators
Creating an online course as a solo creator means wearing every hat — recording, editing, transcribing, formatting, and publishing. Without a streamlined system, the sheer volume of work can grind production to a halt.
I've been part of team-based course launches before, but my latest project, Ghost 5 Mastery, is entirely on my shoulders. That forced me to build a repeatable workflow where I can hit record with almost no preparation, let the video practically edit itself, and end up with perfect transcriptions, a bullet-point summary, and a fully formatted, searchable lesson. Here's the entire system I've put together.
Consistent Screen Recording with macOS Shortcuts
One thing most people overlook is screen consistency. If you're recording software tutorials, your browser window needs to be the exact same size and position every single time. Even a few pixels off and your video won't be a clean 16:9, which looks sloppy when students move between lessons.
I solved this with a simple macOS Shortcut that resizes and repositions my browser window in one click. The trick is that I don't resize to a standard 1920×1080 — I set the height slightly taller (around 1160–1161 pixels) so I can crop out the browser toolbar. That way students only see the application content, not my bookmarks bar and extensions. Run the shortcut, and Safari snaps into the upper-left corner at exactly the right dimensions every time.
Screen Capture with CleanShotX
For the actual screen recording, I use CleanShotX. It's reliable, affordable, and available through SetApp, which is my go-to subscription service for Mac apps. Once my browser is in position, I launch CleanShotX and draw the recording area at exactly 1920×1080 — capturing only the browser content below the toolbar.
The key here is that I don't script or outline my recordings. I know the material, hit record, and let things flow naturally. That means plenty of false starts, repeated takes, and stumbles — but the next tool in the chain handles all of that.
AI-Powered Rough Cuts with Gling
Gling.ai is the tool that saves my sanity. Editing your own voice (and face) for hours is mentally exhausting, and Gling takes the worst of that work off my plate. You drop in a raw video file, and it transcribes the audio, identifies mistakes, false starts, and repeated takes, then automatically cuts them out.
The pricing is reasonable — 10 hours of processing for $15, with small overage fees after that. For a course with dozens of lessons, the cost adds up a bit, but the time savings are enormous. One important tip: Gling sometimes clips the ends of words. I found that adding 0.2 seconds of ending padding in Gling's settings fixes most of those issues before you ever open your main editor.
I wouldn't rely on Gling's transcription for anything public-facing — the accuracy isn't great for that purpose. But for rough-cut editing? It's fantastic. I read through the transcript, clean up any obvious errors, then export the project as a Final Cut Pro XML file.
Recut: A Budget-Friendly Alternative
If you don't want to pay for AI-based editing, Recut is a solid one-time purchase alternative. It doesn't use AI — instead, it detects silence in your recordings and removes it automatically. For a 40-minute raw recording, Recut might trim it down to 20 minutes by simply cutting dead air and pauses between takes.
This won't catch repeated takes or false starts the way Gling does, but it still saves a huge amount of manual editing time. Plus, the natural edit points at each silence gap make it easy to jump between takes in your timeline. It's a great option if you prefer to keep a human in the loop for the actual content decisions.
Finishing Edits in Final Cut Pro
After Gling handles the rough cut, I import the XML file into Final Cut Pro. All the edits are already on the timeline — I just need to fine-tune them and add any polish like zooms, pans, highlights, or titles.
The beauty of the XML workflow is that nothing is destructive. If Gling trimmed a clip too aggressively, I can drag the edge to reveal the original footage. I use Final Cut's keyboard shortcuts to jump from edit to edit, adjusting start and end points as needed. It's a fast, efficient process that turns a rough AI edit into a polished lesson.
Transcription with MacWhisper
MacWhisper is probably my single favorite tool in this entire workflow. It runs OpenAI's Whisper model locally on your Mac, which means no internet connection required and no subscription fees — it's a one-time purchase.
The accuracy is stunning, even on technical software topics where you'd expect transcription to struggle. A two-and-a-half-minute video transcribes in about 30 seconds on my Mac Studio. I export the transcript in two formats: plain text for summarization, and VTT (with timecodes) for closed captions and chapter markers. Both files go into a dedicated transcript folder alongside the final video exports.
Using ChatGPT for Lesson Summaries and Chapter Markers
The transcript serves triple duty. First, it becomes the closed captions for the video. Second, I paste the plain text version into ChatGPT with custom instructions that tell it to generate a bullet-point lesson summary organized by topic. Third, I paste the VTT version (with timecodes) into a separate ChatGPT chat configured to generate chapter markers.
The custom instructions approach is a notable improvement. Instead of crafting a detailed prompt every time, you set it once and then just dump transcripts in. ChatGPT organizes the content into topics with bullet points underneath, and it also flags anything I promised during the lesson — like links or code snippets — so I don't forget to include them.
For chapter markers, ChatGPT tends to generate too many, but they're accurate. I go through and pick the most useful ones, roughly one every 30 seconds or so. It's about 75% automated, which is a huge time saver over doing it manually.
Building the Lesson in LearnDash and WordPress
On the WordPress side, I use LearnDash as my LMS with a few key plugins: GenerateBlocks for layout templates, PrestoPlayer for the video player, and BunnyStream (bunny.net) for video hosting.
I've set up a GenerateBlocks template that I can insert with a quick slash command. It drops in a Bunny-powered video player and a structured content container. LearnDash's focus mode is set to full width so the video stretches across the browser, but the text content sits inside a narrower container so it's comfortable to read.
Video uploads go directly to bunny.net from inside WordPress. Processing takes anywhere from 30 seconds to a couple of minutes depending on length. I usually batch-upload several videos and go take a break while they process.
Adding Captions, Chapters, and Searchable Transcripts
Once the video is uploaded and processing, I add the VTT transcript file directly to the Bunny player for closed captions. Then I paste the ChatGPT-generated lesson summary below the video.
For chapter markers, I use a clipboard manager called Paste with its "Paste Stack" feature. I copy each chapter marker one by one, and they queue up in the stack. Then inside PrestoPlayer's chapter interface, I can rapid-fire paste them using keyboard shortcuts — Command+V, Tab, plus, repeat. One gotcha: you need to press the plus button after entering the last chapter marker or it gets deleted when you save.
The real magic is PrestoPlayer's searchable captions feature. It's off by default, but once enabled, students get a search box right in the video player. They can type any phrase — like "stock ghost themes" — and see exactly where in the video it was mentioned, with clickable markers on the timeline. For a course with dozens of lessons, this is an incredible quality-of-life feature that most platforms don't offer.
The Complete Workflow at a Glance
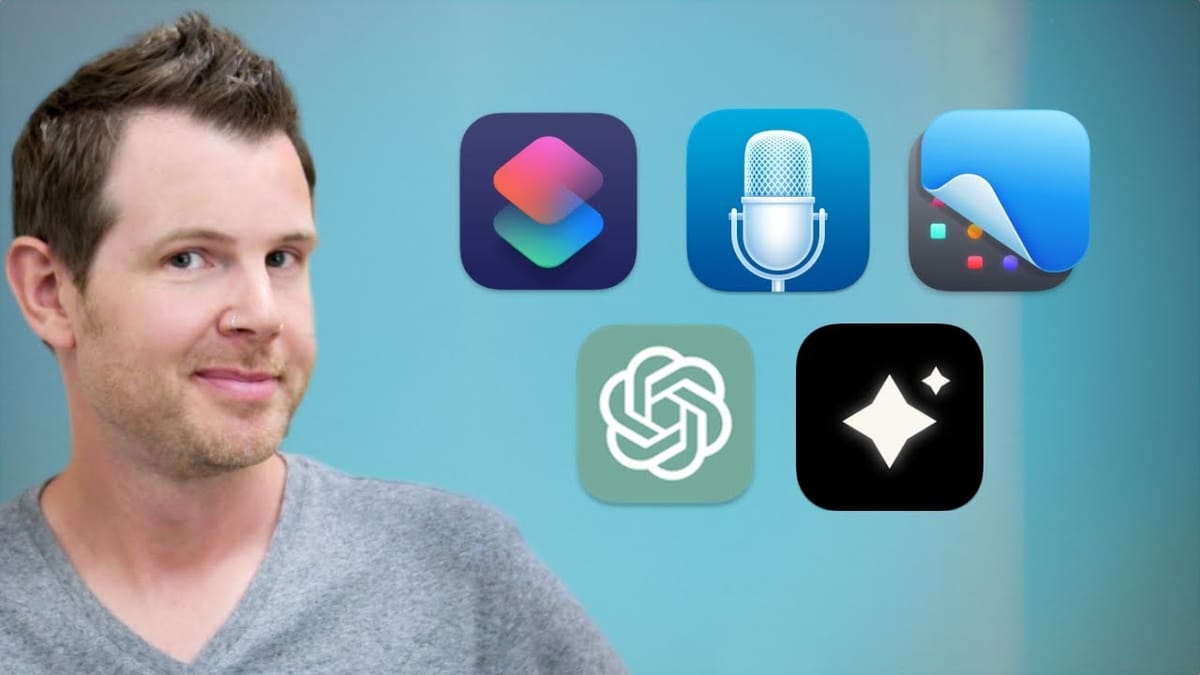
Here's the full pipeline: resize your screen with a macOS Shortcut, record with CleanShotX, rough-edit with Gling (or Recut), polish in Final Cut Pro, transcribe with MacWhisper, summarize and generate chapters with ChatGPT, then assemble everything in LearnDash with PrestoPlayer and BunnyStream.
Every step feeds into the next, and most of the tedious work — silence removal, transcription, summarization, chapter marking — is handled by software. The result is a professional, searchable lesson with captions, chapter markers, and a clean summary, produced entirely by one person. It's not a perfect system, but it gets high-quality course content out the door consistently and efficiently.
Watch the Full Video
Prefer watching to reading? Check out the full video on YouTube for a complete walkthrough with live demos and commentary.
Final Verdict
A repeatable course creation workflow saves more time than any individual tool. Having a clear process from outline to filming to publishing means each new course gets easier and faster to produce.
The tools matter less than the system. Pick a recording setup, editing workflow, and hosting platform that you can stick with, then focus on creating great content instead of constantly switching tools.
Frequently Asked Questions
What tools do you need to create an online course?
A basic course creation setup needs recording software, a microphone, video editing tools, and a hosting platform. Screen recording tools and slide software are sufficient for most educational content.
What is the best workflow for creating course content?
Start with an outline, create slides or demonstrations, batch record all lessons, edit in bulk, then upload to your platform. Batch processing each stage is more efficient than completing one lesson at a time.
How long should online course lessons be?
Keep individual lessons between 5-15 minutes. Shorter focused lessons improve completion rates and make content easier to update over time compared to long unstructured recordings.
What recording equipment do solo course creators need?
A USB microphone like the Audio-Technica ATR2100x, screen recording software like ScreenFlow or OBS, and good lighting for face-to-camera segments. Start simple and upgrade based on actual needs.
Where should you host your online course?
Options include self-hosted platforms like LearnDash, hosted platforms like Podia or Teachable, and marketplaces like Udemy. Self-hosted gives more control while hosted platforms handle the technology.
Get Dave's Toolbox
The tools I actually use, every Tuesday. Free. No spam.
No cost. No spam. Unsubscribe anytime.