
Eventin Review: Sell Event Tickets From Your WordPress Site
Eventin turns your WordPress site into a full-featured event ticketing platform, handling everything from speaker profiles to QR code tickets and seat maps.

Eventin
A WordPress plugin that lets you create events, sell tickets, manage speakers and schedules, and integrate with Zoom or Google Meet for online events.
Event organizers, online coaches, yoga studios, music venues, and anyone who needs to sell tickets through their WordPress website.
Eventbrite, Ticket Tailor, Event Espresso, The Events Calendar
What Is Eventin and Why Does It Matter?
Eventin is a WordPress plugin that transforms your website into a full-blown event ticketing platform. Whether you're hosting an online web summit, a local rock concert, or weekly yoga classes, Eventin handles the entire process — from listing events and managing speakers to selling tickets and scanning QR codes at the door.
What makes this plugin stand out is that everything lives on your WordPress site. You're not sending customers off to a third-party ticketing platform or paying per-ticket fees to some SaaS provider. The whole operation runs from your own domain, which means you keep control of your branding, your customer data, and your revenue.
The catch? Eventin can feel overwhelming when you first open it up. There are a lot of settings, a lot of options, and a lot of flexibility. But once you understand the basic workflow — add speakers, create schedules, build events — it clicks into place pretty quickly.
The AppSumo Deal and Pricing Tiers
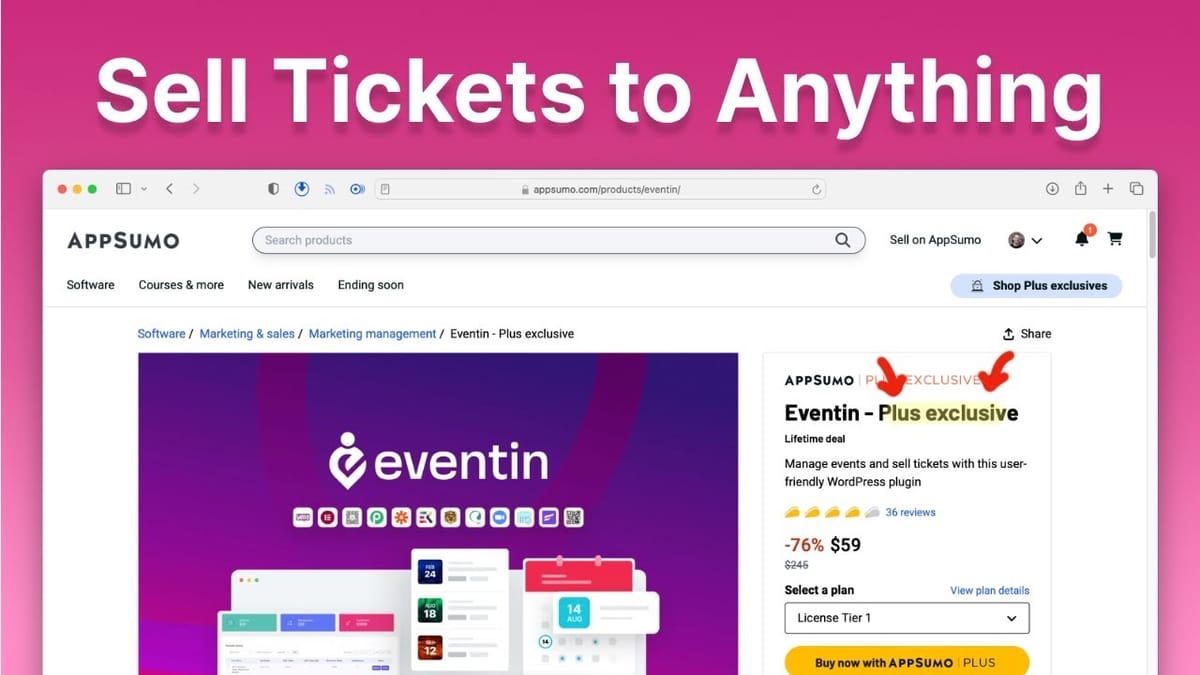
Eventin is available as a lifetime deal on AppSumo, which is significant because comparable SaaS-based event platforms charge monthly fees that add up fast. The deal starts at $59 for Tier 1, which covers five sites with all features included. There's no feature gating between tiers — the only difference is how many sites you can activate the plugin on.
Tier 2 bumps you up to 10 sites, and Tier 3 gives you unlimited sites. If you're a solo entrepreneur running events on your own site, Tier 1 is all you need. If you're an agency or freelancer building event sites for clients, Tier 2 or Tier 3 makes more sense. It's a straightforward pricing structure with no hidden upsells on core functionality.
Installation and Initial Setup
Getting Eventin installed follows the standard WordPress plugin process. After redeeming your AppSumo code, you'll download a zip file from the Eventin website. Head into your WordPress admin, go to Plugins > Add New > Upload Plugin, drop in the zip file, and click Install Now.
Once activated, Eventin appears in your left-hand sidebar. The first stop should be Settings, where you'll want to configure two things: your video conferencing integration and your payment gateway.
For online events, Eventin supports both Zoom and Google Meet. You'll find these under the Integrations tab. The setup involves copying API keys between platforms, which takes about 15-20 minutes. Eventin's documentation is genuinely excellent here — annotated screenshots walk you through every click. It's a one-time setup that applies to all future events, so it's worth getting it done right away.
Setting Up Payments with WooCommerce
For accepting payments, you have two options: direct Stripe integration or WooCommerce. While Stripe-only is simpler to set up (just paste in your API keys), WooCommerce is the better choice for most people.
The reason comes down to account management. WooCommerce creates customer accounts when people make a purchase, and their tickets get stored on your site. When someone inevitably deletes their confirmation email and can't find their ticket, they can just log into your website and access it there. That alone saves you a lot of support headaches.
A few settings worth adjusting in the WooCommerce purchase settings: redirect users straight to checkout after adding tickets to their cart (skip the cart page), enable the download/print invoice option on the thank-you page, and turn on the "require login" option so buyers always have an account tied to their purchase.
Understanding Eventin's Terminology
Eventin uses the terms "events" and "speakers" throughout the plugin, which can feel awkward if you're running yoga classes or rock concerts. The mental model is simple: the "speaker" is whoever is performing or leading the activity, and the "event" is the activity itself. A yoga instructor is a "speaker." A concert is an "event."
You can't change the labels in the admin interface, but you can change the URL slugs. Under Settings > Slug Settings, you can rename the event slug to "class" or "concert" and the speaker slug to "instructor" or "band." This way your public-facing URLs make sense for your specific use case, even if the backend still says "speakers" and "events."
Adding Speakers and Profiles
Before creating events, it helps to add your speakers (or instructors, performers, presenters — whatever they are in your context). Navigate to Speakers > Add New in the sidebar.
Each speaker profile includes their name, title/designation, email address, a short bio, social media links, company logo, and company URL. You can also categorize speakers — the defaults are "organizer" and "speaker," but you can add custom categories like "instructor," "performer," or "magician" depending on your needs.
One thing that's easy to skip but worth doing: add a featured image for each speaker. These photos appear on event pages and speaker listings, and they make a noticeable difference in how professional everything looks. Different display templates crop images differently, so a square headshot tends to work best across all layouts.
Creating Schedules for Multi-Session Events
This is where Eventin's structure can trip people up. In the sidebar, "Events" and "Schedules" sit at the same level, which makes it look like they're separate concepts. In reality, schedules are the internal breakdown of what happens inside an event — they should be nested under events, but they're not.
A schedule represents a single day's lineup. If you're running a two-day web summit, you'd create two schedules — one for each day. Each schedule contains time slots: a keynote at 10 AM, a workshop at noon, a panel at 2:30 PM, and so on. Each slot gets a topic name, start time, duration, room/location, and assigned speaker.
For a multi-day music festival, you might have a Friday schedule, Saturday schedule, and Sunday schedule, each with their own lineup of bands and set times. The schedule system is flexible enough to handle anything from a single afternoon workshop to a week-long conference.
Creating and Configuring Events
With speakers and schedules in place, you can create the actual event. Go to Events > Add New and give it a title. The event creation screen has a lot of options, but the critical ones are straightforward.
First, choose whether your event has speakers or not, then attach the schedules you created. If it's a multi-day event, you can attach multiple schedules and attendees will see tabs for each day. Toggle on "Virtual Product" to enable WooCommerce ticketing — you don't need to create any products in WooCommerce itself, as Eventin handles that automatically.
For in-person events, add a venue and location. There's also a Google Maps integration available under Settings > Integrations that will display an interactive map on your event page. Set your date, time, timezone, and optionally a registration deadline to cut off late sign-ups.
Ticket Pricing and Variations
The ticketing system is surprisingly capable for a WordPress plugin. Under Ticket and Pricing, you can set limited ticket quantities (which you almost always should, since even Zoom and Google Meet have participant caps), define a ticket price, and name the ticket tier.
You can create multiple ticket variations for the same event. A "General Admission" ticket at $25 with 500 seats available alongside a "VIP Experience" at $100 with only 15 spots, for example. Each variation gets its own name, price, quantity limit, minimum purchase quantity, and maximum purchase quantity — that last one being useful for preventing scalpers from buying out your entire inventory.
For venues that need assigned seating, there's an add-on called TimeTix (by the same developer) that provides a seat map builder. It's a separate purchase, but it lets attendees choose specific seats during checkout. Most people won't need this, but it's there for larger venue operations.
Recurring Events, FAQs, and Extras
Eventin supports recurring events, which is a big deal for anyone running weekly or monthly programming. Set a start and end time, then configure the recurrence — every week, every Tuesday, whatever pattern fits. Each occurrence can sell its own tickets independently.
The built-in FAQ builder is a nice touch. You can add questions and answers directly to any event page, covering things like "Who is this event for?" or "What should I bring?" These show up right on the event listing, which reduces support inquiries and helps potential attendees make a purchase decision.
Under Miscellaneous settings, you can customize the event logo, change color schemes, and even link to an external URL to redirect attendees after purchase. There's also a certificate builder add-on for events where attendees need proof of completion, though that's a separate feature worth exploring on its own.
Front-End Display and Templates
Once your event is published, Eventin generates a default event page that's honestly pretty decent out of the box. But the real power is in customization. Under Settings > General Settings > Event Template, you can swap between different layout templates with a single click.
The second template, for instance, adds a countdown timer, displays speakers more prominently, and includes the FAQ section in a cleaner layout. The schedule displays with tabs for multi-day events, and clicking on a time slot reveals speaker details with links to their profile page. Ticket purchasing is integrated directly into the page — attendees can see remaining seats and go straight to checkout.
Speaker templates are similarly customizable. If one template crops photos awkwardly for your particular images, just switch to another. The ThemeWinter website has a demo page that showcases every possible display option, from event grids and countdown timers to filterable event listings and speaker showcases.
Page Builder Support and Shortcodes
Eventin plays nicely with just about every major WordPress page builder. Elementor support is built right in — no add-on needed. For Divi, Bricks, and Oxygen, there are free add-ons available in the Eventin add-ons section. Gutenberg gets five dedicated blocks for embedding speaker lists, event grids, and more directly into any page.
For everyone else — including anyone still on the classic editor — there's a surprisingly good shortcode builder. Navigate to Eventin > Shortcodes and you'll find builders for event lists, speaker lists, countdown timers, recurring event listings, search filters, and more. Each builder lets you configure the layout and content, then generates a shortcode you can paste anywhere.
The event shortcode builder in particular is quite detailed, letting you control exactly what information appears. The search filter shortcode is great for sites with lots of events, giving visitors the ability to filter by location, category, or date. It's all drag-and-drop configuration — no coding required.
Final Verdict: Is Eventin Worth It?
Eventin is a genuinely powerful event management solution that runs entirely on WordPress. The combination of speaker management, flexible scheduling, WooCommerce ticketing, video conferencing integration, and broad page builder support covers virtually every use case — from solo coaches running webinars to venues hosting multi-day festivals.
The learning curve is real. There are a lot of settings and the terminology can be confusing at first. But the underlying workflow is logical once you understand it: add speakers, create schedules, build events, customize the display. Budget some time for initial setup, especially the Zoom or Google Meet integration, and you'll have a professional event platform that would cost significantly more as a monthly SaaS subscription.
At $59 for a lifetime deal with all features included, it's hard to argue against picking this up if event ticketing is even remotely relevant to your business. The only question is which tier fits your needs.
Watch the Full Video
Prefer watching to reading? Check out the full video on YouTube for a complete walkthrough with live demos and commentary.


