
Gumlet Review: A Full CDN for Images, CSS & JavaScript
Gumlet is known for image optimization, but it can also serve as a full CDN for your JavaScript and CSS files. Here's how to set it up on WordPress and why I switched from BunnyCDN.

Gumlet
Gumlet is a CDN and image optimization service that can also deliver your JavaScript and CSS files from edge servers worldwide.
WordPress site owners and web developers who want a reliable CDN with built-in image optimization, compression, and lazy loading.
BunnyCDN, KeyCDN, Cloudflare
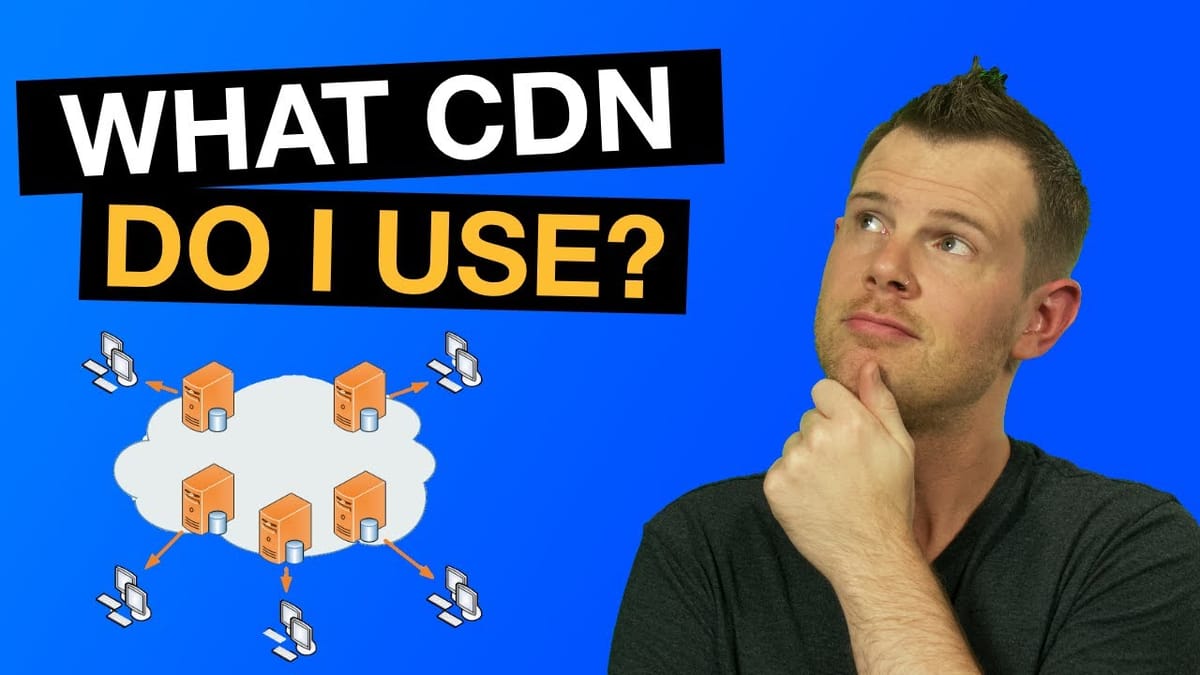
What Is a CDN and Why Does It Matter?
A CDN (Content Delivery Network) takes the heaviest files from your website — images, JavaScript, and CSS — and distributes them across servers all over the world. These servers are called points of presence, or POPs, and the more of them a CDN has, the better its coverage.
The practical benefit is straightforward: when someone visits your site, they pull those large files from whichever server is geographically closest to them rather than hammering your single origin server. This means faster load times for visitors, natural load balancing across your infrastructure, and an added layer of security. If your site gets traffic from more than one country, a CDN isn't optional — it's table stakes for a fast, reliable experience.
Why I Switched Away from BunnyCDN
Back in 2019, I was running BunnyCDN alongside the Elementor page builder on my WordPress sites. The problem? CSS files would intermittently fail to load when served through Bunny's cache. That meant pages would render without any styling — a deal-breaker for a production website.
I reached out to Bunny's support team and they acknowledged the issue. Their recommendation was to swap out the CDN integration plugin, not the CDN itself. I tried that fix and it didn't resolve things for me. At that point, my priorities shifted. Speed had always been the main criterion when choosing a CDN, but after this experience, reliability became the top concern. A CDN that occasionally breaks your site's appearance is worse than no CDN at all.
For my own sites I could troubleshoot and clear caches, but I also manage client websites through my agency. Clients shouldn't have to diagnose CDN caching issues. I needed something I could set and forget. Bunny has since posted a fix — a checkbox in their plugin settings — but by the time that shipped, I was already happily running on Gumlet and saw no reason to switch back.
What Gumlet Actually Does (It's More Than Images)
Most people know Gumlet as an image optimization service, and that's fair — their marketing leans heavily into images. But under the hood, Gumlet provides a full CDN with global points of presence, which means it can serve any static file type, not just images.
There's genuine overlap between Gumlet and BunnyCDN's feature sets. Both offer CDN delivery across global POPs. Both compress images to reduce file sizes with negligible quality loss. And both can automatically resize images based on the requesting device's screen size. For most business websites, these three capabilities — compression, responsive resizing, and CDN delivery — cover everything you need.
The key difference is that Gumlet packages these features in a polished, easy-to-use dashboard. Setting up a new site takes about 90 seconds, and the interface makes it clear exactly what's happening with your assets.
Setting Up Gumlet on WordPress
Getting started in the Gumlet dashboard is simple. Navigate to Images, then Sources, and hit "Add New." Gumlet supports a wide range of platforms, but for WordPress you'll select that option and enter your site URL.
Next, you create a Gumlet subdomain — something like `yoursite.gumlet.net`. This subdomain is the address your files will be served from. One small UX gripe: after creating the source, Gumlet doesn't display or copy that subdomain for you. You have to navigate back into your image sources list to find it. It's a minor friction point, but worth noting since you'll need that subdomain for the next step.
Installing and Configuring the Gumlet Plugin
Over in your WordPress admin, go to Plugins → Add New and search for "Gumlet." Install and activate the official plugin. This handles image optimization, including compression, responsive resizing, and lazy loading.
Under Settings → Gumlet, paste in the subdomain you created on the Gumlet dashboard. For the "Current Image Domain" field, leave it blank unless you've specifically offloaded your media library to an external service — 99% of WordPress sites host images on the same server. Toggle lazy loading on if you aren't already using another lazy load plugin (Gumlet's lazy loading conflicts with other solutions, so disable any existing ones first). The auto-compress setting defaults to a quality level of 80, which strikes a solid balance between performance and visual fidelity. Unless you're running a photography portfolio, the default is fine.
Using Gumlet for JavaScript and CSS
Here's the part most people miss. The official Gumlet plugin only handles images, but you can extend Gumlet's CDN to cover JavaScript and CSS by adding a second plugin: CDN Enabler by KeyCDN. It's free and doesn't require a KeyCDN account.
Install and activate CDN Enabler, then go to Settings → CDN Enabler. In the hostname field, paste the exact same Gumlet subdomain you used in the Gumlet plugin settings. The critical step is the file extensions field — set this to only `.css` and `.js`, each on its own line. This tells CDN Enabler to rewrite only the paths for stylesheets and scripts, sending them through Gumlet's CDN. Images are already handled by the Gumlet plugin, so there's no overlap or conflict.
Save your settings and you're done. Two plugins working together give you full CDN coverage for every major static asset type on your site.
Verifying Everything Works
After setup, visit your site and open your browser's developer tools (right-click → Inspect in Chrome, or look for Developer Tools in any browser). Click over to the Sources tab and look for your Gumlet subdomain in the list of sources.
Drill into the folders — you should see `wp-content` and `wp-includes` directories. Inside those, check for JavaScript files from your plugins (like Elementor), CSS stylesheets, and image files under the uploads directory. Hover over any file name to confirm the path shows your `gumlet.net` subdomain. If images, JS, and CSS are all loading from Gumlet, your full CDN setup is confirmed and working.
Should You Switch to Gumlet?
If your current CDN setup is working reliably, there's no urgent reason to change. The best infrastructure is the kind you don't have to think about. But if you're evaluating CDN options or running into reliability issues with your current provider, Gumlet is worth a serious look.
One interesting angle: Gumlet has added a video hosting feature (currently in beta) that looks similar to Bunny Stream. If it matures, Gumlet could become a true all-in-one solution for images, static assets, and video — reducing the number of platforms and bills you juggle. For now, though, the core image and CDN offering is rock solid and the setup process is one of the simplest I've used.
Watch the Full Video
Prefer watching to reading? Check out the full video on YouTube for a complete walkthrough with live demos and commentary.


