
Xnapper Review: Mac Screenshot Tool for Just $5 on AppSumo
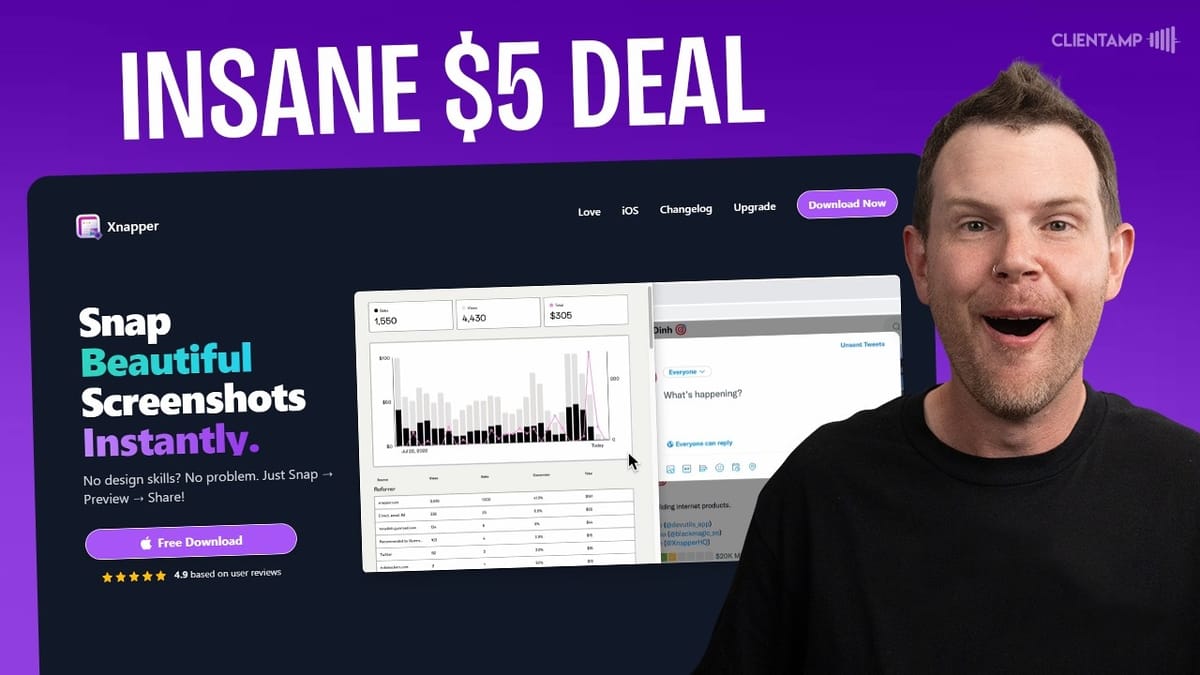
Xnapper is a Mac screenshot tool that instantly makes your captures look professional with gorgeous backgrounds, smart redaction, and dead-simple annotation — and it's just $5 on AppSumo.

Xnapper
A Mac screenshot tool that automatically beautifies captures with backgrounds, padding, and rounded corners, plus offers smart redaction and annotation features.
Developers, bloggers, social media creators, and anyone who regularly shares screenshots and wants them to look polished without design skills.
CleanShot X, Shottr, Skitch, Droplr
What Is Xnapper and Why Should You Care?
If you've ever shared a screenshot on social media or in a blog post and wished it looked more polished, Xnapper is built exactly for that. It's a Mac-based screenshot tool that takes your raw captures and instantly wraps them in beautiful backgrounds, balanced padding, and rounded corners — no design skills required.
The real kicker here is the price. AppSumo is running a code-limited deal where you can grab Xnapper for just $5. If you've been around AppSumo long enough, you know their code-limited deals disappear fast, so this one is worth acting on quickly. Beyond the aesthetics, Xnapper also packs some surprisingly powerful features like machine learning-based redaction that can automatically hide email addresses, IP addresses, and API keys from your screenshots.
Real-World Use Cases for Xnapper
Developers sharing feature updates on social media are one of the most obvious use cases. You've probably seen those beautifully styled screenshots on Twitter or LinkedIn where someone shows off a new dashboard or UI element — those polished visuals used to take real effort to produce. With Xnapper, you can get the same result in seconds.
Bloggers will find it equally useful. Maybe you need to capture a tweet before it gets deleted, or you want to grab a pricing table from a competitor's site. Xnapper's crosshair selection tool doesn't even require you to be precise — it automatically balances the spacing and applies your chosen style. Select the area, pick a background, and you're done.
Setting Up Preferences and Key Commands
After installing Xnapper, you'll find its icon sitting in your Mac menu bar. The default keyboard shortcut is Control+Option+Command+4, which honestly requires two hands and a bit of finger gymnastics. The good news is you can customize this immediately under Preferences.
Xnapper gives you two shortcut options: one that takes a screenshot and opens the editor, and another that captures directly to your clipboard. The clipboard shortcut is perfect for quick grabs you want to paste into Messages or Slack without any editing. Setting up a memorable shortcut like Control+Shift+X makes the tool feel truly instant.
A couple of other settings worth configuring right away: set your default save location so screenshots don't pile up on your desktop, enable "launch at login" so the keyboard shortcut always works, and customize the default file naming convention. Xnapper can prefix filenames with its own tag and append timestamps or unique IDs, which is helpful if you're capturing a lot of screenshots for documentation or content creation.
The Xnapper Editor: Backgrounds, Padding, and Presets
The editor is where Xnapper really shines. After capturing a screenshot, it opens with your image already styled. If you're planning to share on a specific platform, you can choose from preset aspect ratios — Facebook timeline, Twitter header, and others are built right in. Select one, and Xnapper reformats the canvas to match.
The auto-balance feature is particularly nice. If your screenshot is off-center or has uneven spacing, checking the balance box instantly centers everything and distributes the background evenly. From there, you have granular control over padding (the background space around your image), inset (the breathing room right next to the screenshot edges), corner rounding, and shadow intensity.
Backgrounds range from colorful gradients like "Sky" and "Cool" to solid colors and even full transparency. Want a clean black background? Done. Want no background at all so you can layer the screenshot in your own design? That works too. Once you've dialed in a look you like, save it as a preset. This is a huge time-saver if you're regularly producing screenshot content and want visual consistency across posts. Presets remember all your slider positions, so switching between a "social media" style and a "no style" raw capture is just one click.
Power User Features: Drag-and-Drop, Reopen, and Zoom
The bottom bar of the editor hides some genuinely useful power-user features. Zoom controls let you get a closer look at your work with Command+Plus and Command+Minus, or you can fit the entire image to screen with a single click.
One standout feature is drag-and-drop sharing. There's a small six-dot icon you can grab and drag directly into another application — drop it into a Facebook post composer, a Slack message, or an email draft. The image transfers instantly. When you drop the image, the editor closes automatically, which keeps things tidy.
But what if you weren't done? Maybe you shared to Facebook but still need a Twitter-formatted version. Just press Shift+Command+Z or click "Reopen Closed Screenshot" in the menu bar, and you're right back where you left off with all your edits intact. It's a small detail, but it shows the developer thought carefully about real workflows.
Annotation Tools: Text, Arrows, Shapes, and Redaction
Xnapper's annotation suite covers the essentials without being bloated. Press 1 for text, 2 for arrows, 3 for manual redaction, and 4 for shapes — that's it, and that's all most people need. Each tool is accessible via keyboard shortcut or the toolbar, and pressing the same number cycles through variations.
Text annotations let you choose from different font sizes by pressing 1 repeatedly. You can reposition text anywhere on the image and change its color after placing it. Arrows are surprisingly smart — as you move them around, they angle themselves intelligently. Cycle through straight arrows, curved arrows, and different styles until you find the right one.
Shapes include rectangles, rounded rectangles, circles (hold Shift for a perfect circle), and straight lines. Everything is color-customizable, repositionable, and deletable. If you work with a designer and need to provide visual feedback on mockups or thumbnails, Xnapper doubles as a lightweight markup tool. Just open any image file directly — you don't have to capture it as a screenshot first. When you're done annotating, double-click the gray background area to copy everything to your clipboard.
Smart Text Detection from Screenshots
Here's a feature that's easy to overlook but incredibly handy: Xnapper can detect and extract text from any screenshot. After capturing an image, head to the menu and select "Detected Text." Xnapper uses Apple's built-in Vision framework to OCR the content, and you can click on any detected text block to copy it to your clipboard.
This is useful in more scenarios than you might think. Copying text from an image someone sent you, grabbing a quote from a design mockup, or pulling data from a screenshot of a spreadsheet — it all works. Since the processing happens locally through macOS, there are no privacy concerns about your screenshot content being sent to external servers.
Automatic Data Redaction with Machine Learning
Redacting sensitive information from screenshots is one of Xnapper's most impressive capabilities. Toggle on automatic redaction in the settings, and the tool will scan every screenshot for email addresses, IP addresses, credit card numbers, API keys, and passwords. Detected sensitive data gets blacked out instantly — no manual effort required.
The automatic detection works remarkably well. Email addresses get caught immediately, and IP addresses are flagged as soon as you enable that category. You might occasionally get a false positive (like the system clock being flagged as an IP address), but that's a minor trade-off for the safety net it provides.
For manual redaction, press 3 to activate the redaction brush. As you hover over text, Xnapper highlights individual words you can click to redact — it feels almost magical how precisely it identifies word boundaries. You can also click and drag to redact entire lines or blocks. The word-by-word approach looks far more professional than drawing a clumsy rectangle over sensitive data. All of this processing happens locally using Apple's Vision framework, so your sensitive data never leaves your machine.
Adding Extra Devices to Your License
If you use more than one Mac, Xnapper's licensing model through AppSumo is still a bargain. Buying directly from Xnapper's website, two Mac licenses would run you $55. Through the AppSumo deal, you can cover two Macs for $25 — that's over 50% off.
To add more devices, redeem your AppSumo code and head to Xnapper's pricing page. Scroll down to the License Manager, enter the email you used for setup, and you'll receive a link (valid for 24 hours) to manage your license. From the license details page, click "Buy More Devices" and add as many Macs as you need at $20 per additional device. Compare that to the retail price of $80 for three devices, and the AppSumo route at $45 total is clearly the better deal.
Final Verdict: Is Xnapper Worth $5?
At $5, Xnapper is practically a no-brainer for any Mac user who takes screenshots regularly. The beautification features alone save significant time compared to manually adding backgrounds and padding in a design tool. Layer on the smart redaction, OCR text detection, annotation suite, and preset system, and you've got a genuinely powerful utility at a fraction of what comparable tools cost.
The app is dead simple for casual users but has enough depth — keyboard shortcuts, drag-and-drop sharing, custom presets, file naming conventions — to satisfy power users. The main limitation is that it's Mac-only, so Windows users will need to look elsewhere. But if you're in the Apple ecosystem and share screenshots as part of your workflow, grab this deal before the codes run out.
Watch the Full Video
Prefer watching to reading? Check out the full video on YouTube for a complete walkthrough with live demos and commentary.


